
The other day, I found myself looking around and realizing what great pieces of plastic we have found at IKEA and thought I'd share!
FIRST up, the $3.99 FUNGARA gray plastic tray - perfect for an eating or work surface and cleans up perfectly!


SECOND is also a tray, $7.99 KLACK. It's larger than the gray tray and my favorite for LEGO's as the sides are taller so less little LEGO's can escape! Not a good fit for the dishwasher.


NEXT UP, an iPad, cooking book or UNO card holder! RIMFORSA, $15.99. This item can be found in the office section as well as the kitchen accessory marketplace. The ISBERGET is $2.99 and plastic. It comes in a few colors (white & blue pictured). It isn't as tall as the RIMFORSA, so not as good for a cookbook! Ivan loves UNO, Go Fish and Old Maid ... it's quite tricky to hold all those cards in those little hands, so these have been great ways to hide his cards and still be able to see them!


What else do you need to go with a LEGO/project tray and UNO card holder? a TABLE! The LACK tables have been good to us. I don't care if they get written or spilled on (and they never leave a mark, cleaning up beautifully). They are the perfect height for a 2-3 year old's project table, light weight and cheap ... $7.99! They also come in various colors!
We also have the SUNDVIK white table and chairs ... the table is a bit higher than the LACK tables and has matching chairs. My favorite part of this set is using the chairs for a step stool for myself!
Another favorite IKEA inspired activity to do on a table ... slice hard boiled eggs! Random enough as it sounds, it is super fun and encourages healthy snacking! This easy to use egg slicer SLAT, will only run you $2.99 and can be found in the kitchen section of the marketplace.


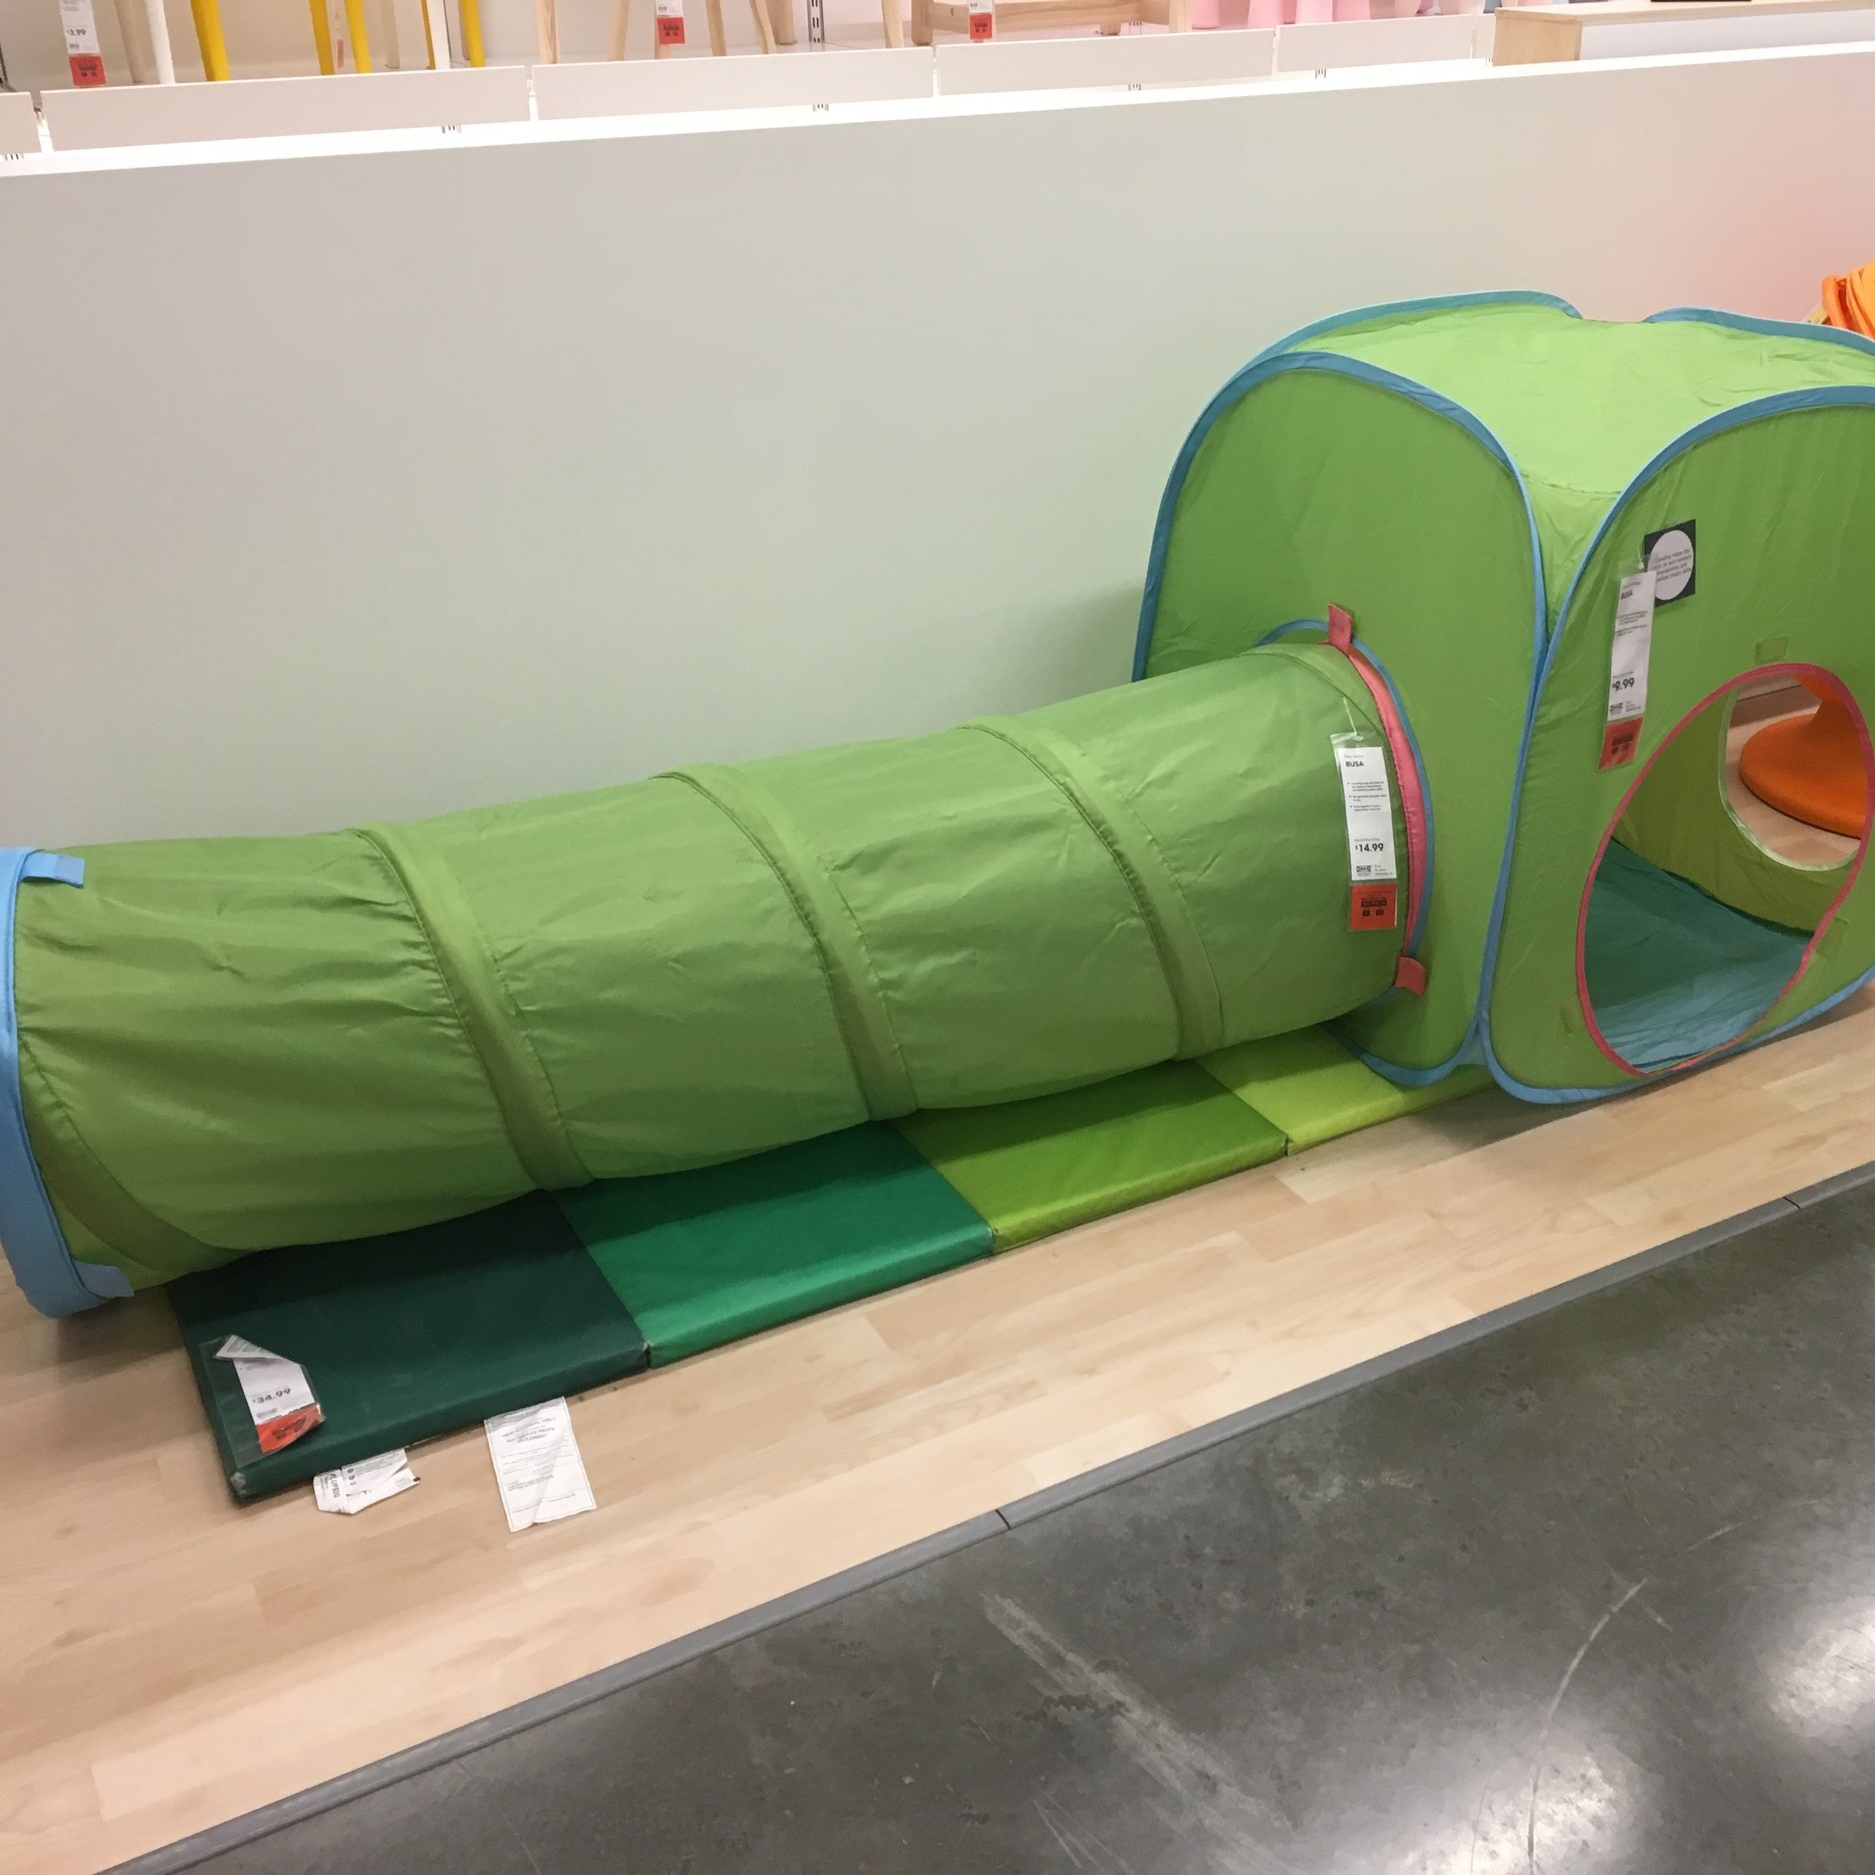
TOYS ... they have toys, paper roll holders, paint, crayons, cute kitchen toys, lots of stuffed animals wooden train pieces, on and on. All priced very friendly. It the easy to assemble tents ($9.99+) and RUSA tunnel ($14.99) that kids of all ages seem to gravitate to every time the room fills up with playmates!
This plastic step stool is great because it is skinnier than the others we have an doesn't slip/slide as it has rubber (green parts). Can't beat it for $4.99!


AND LAST BUT NOT LEAST the items that get me excited! KNALLA umbrellas are $2.99 and open and close very easily. They are on the larger side (not golf umbrella size) and are handy to have around. At the price, I don't even care if I leave one behind!
I'm a winter time scarf wearer! The $5.99 KOMPLEMENT scarf hanger keeps me organized and fits my scarfs in the closet!
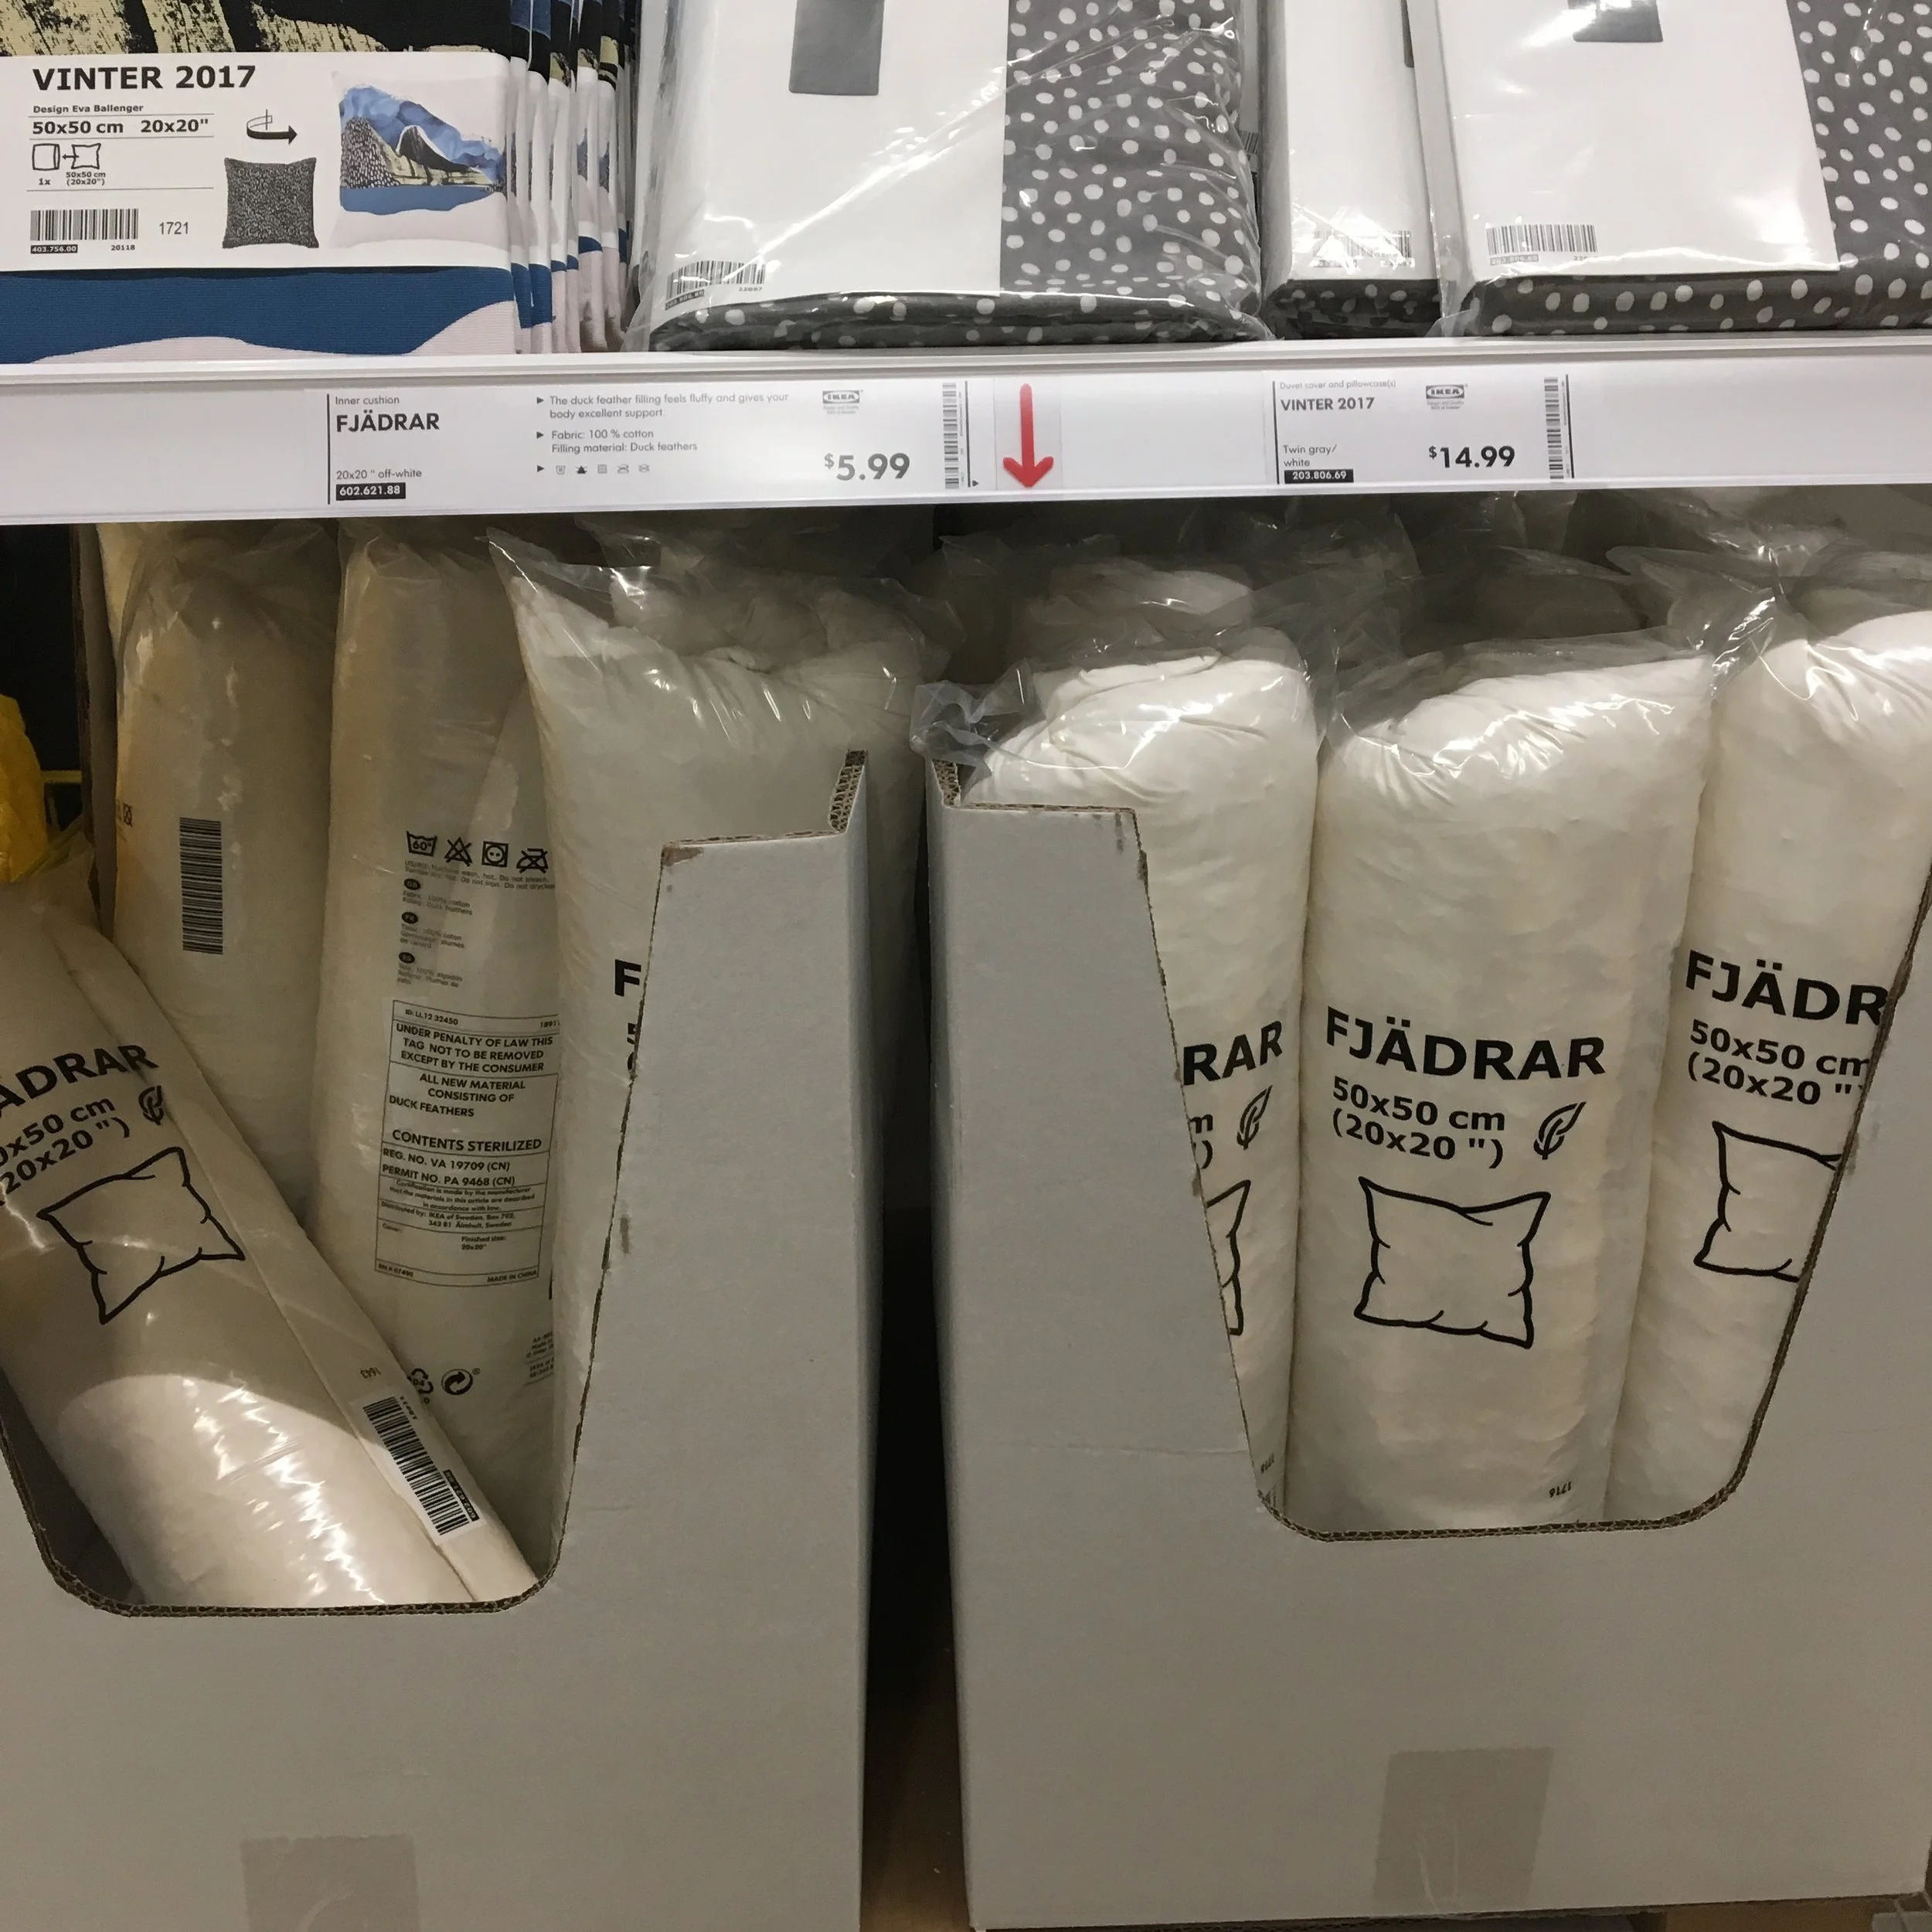
Yes, I fully appreciate good quality for a great price. I'm def a value gal. Coming in last but certainly not least are the 20" x 20" throw pillow inserts ... FJADRAR for $5.99!!! Seriously this may be the best value in the entire store. Compare the fill and feel with like inserts found at Pottery Barn etc for upwards of $18+ each


and no I'm not on the IKEA payroll ... wondering how I spent so much on my last visit with all these low prices?!! Happy Shopping!


